
ジェネラティブアートに興味があるけど、日本語の情報が少ない、、

for文くらいはわかるけど、あんまりプログラミングの経験もないし、、
そういう人も、この記事を読めばこんな画像を作れます。
(私自身はプロではないので不備はあるかもしれませんが、できるだけわかりやすく解説したつもりです。)

また、今後の記事で以下のような画像、動画の作り方も紹介していきます。
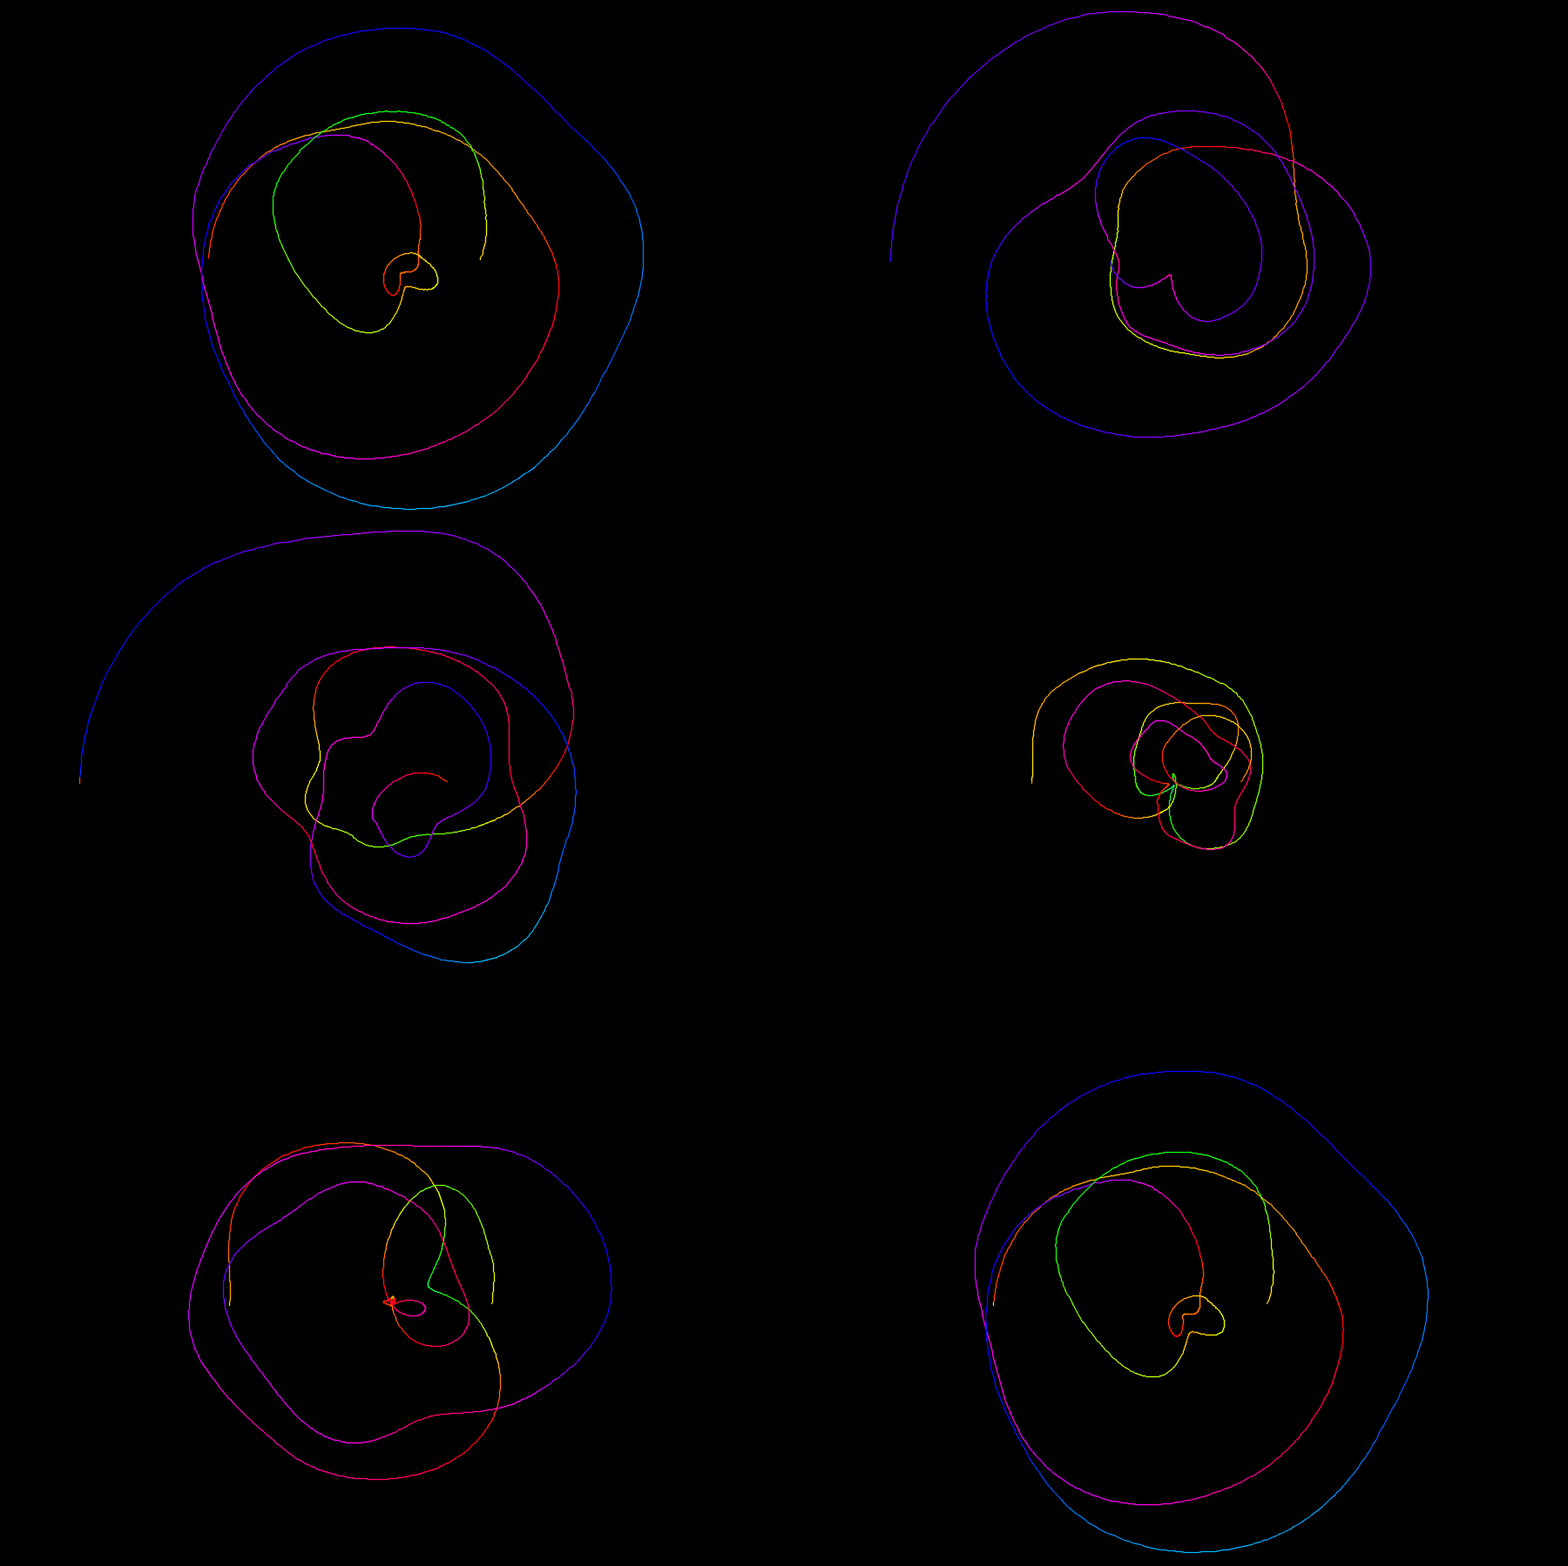
コード全文がこちら。まずはコピペしてみて正しく動くか確認してみてください。
環境はprocessing4です。
|
1 2 3 4 5 6 7 8 9 10 11 12 13 14 15 16 17 18 19 20 21 22 23 24 25 26 27 28 29 30 31 32 33 34 35 36 37 38 |
size(900,600); background(255); strokeWeight(0.5); smooth(); int centx = width/2; int centy = height/2; float x,y; for (int i = 0; i < 100; i++){ float lastx = -999; float lasty = -999; float radiusNoise = random(10); float radius = 10; stroke(random(70), random(70), random(70), 60); int startangle = int(random(360)); int endangle = 1440 + int(random(1440)); int anglestep = 5 + int(random(3)); for (float ang = startangle; ang <= endangle; ang += anglestep){ float rad = radians(ang); radiusNoise += 0.05; float thisRadius = radius + noise(radiusNoise) * 200 -100; x = centx + thisRadius * cos(rad); y = centy + thisRadius * sin(rad); if (lastx > -999){ line(x, y, lastx, lasty); } radius += 0.5; lastx = x; lasty = y; } } |

この画像は、
- まず円を描く
- 円を螺旋に変える
- 螺旋にノイズを加えてグニャグニャさせる
- おなじ要領で描いた螺旋を100本重ねる
という4ステップで作られています。
順に見ていきましょう。
1.まず円を描く
まず円を描くところからやってみましょう。

ここが一番作業量が多いですが、ここを乗り越えるとあとは楽なのでがんばります。
アルゴリズムとしては、
- 新しい点(x, y)の座標を計算する
- 前の点(lastx, lasty) から、新しい点(x, y)へ直線を引く
- 前の点(lastx, lasty)に新しい点の座標を代入することで再設定
- これを点が1回転するまで繰り返す
これだけです。
新しい点を描いて、前の点と線でつなぐ
このシンプルな操作を繰り返すだけ。
コードはこちらです。
|
1 2 3 4 5 6 7 8 9 10 11 12 13 14 15 16 17 18 19 20 21 22 23 24 25 26 27 28 |
size(900,600); //画面のサイズを(900,600)に設定 background(255); //背景を白に設定 strokeWeight(0.5); //線の太さを0.5に設定 smooth(); int centx = width/2; //円の中心を画面の中心にする int centy = height/2; float radius = 50; //半径を50とする stroke(20,50,70); float x, y; float lastx = -999; float lasty = -999; for (float ang = 0; ang <= 360; ang += 5){ float rad = radians(ang); float thisRadius = radius; x = centx + thisRadius * cos(rad); y = centy + thisRadius * sin(rad); if (lastx > -999){ line(x, y, lastx, lasty); } lastx = x; lasty = y; } |
まず最初に、必要な変数を定義していきます。
高校数学で習ったように、円上の点(x, y)は
(中心の座標+半径✕cos(角度)、中心の座標+半径✕sin(角度))
として描けます。
ここから、円上の点を描画するには、中心と半径と角度という3つの変数が必要であることがわかります。
そこで、まず中心の座標を(centx, centy)として、画面の中心にとりましょう。
|
6 7 |
int centx = width/2; //円の中心を画面の中心にする int centy = height/2; |
円の半径を変数radiusとして、初期値50を与えます。
|
9 |
float radius = 50; //半径を50とする |
角度はangとしましょう。
前の点から新しい点へ移る際には、角度angを少しずつ動かす必要があります
1回転させるので、angは360度まで増やします。
このfor文を使うと、angを0から360まで、5刻みで増やしていきながらループ処理をさせることができます。
|
1 2 3 |
for (float ang = 0; ang <= 360; ang += 5){ //この中にループする処理を書く } |
度数法の表記だと計算がめんどくさいので、弧度法・ラジアンによる表記に変えましょう。
radians()という関数で、変数angを弧度法表記の変数radに変換できます。
|
16 17 18 19 20 21 22 23 24 25 26 27 28 |
for (float ang = 0; ang <= 360; ang += 5){ float rad = radians(ang); float thisRadius = radius; x = centx + thisRadius * cos(rad); y = centy + thisRadius * sin(rad); if (lastx > -999){ line(x, y, lastx, lasty); } lastx = x; lasty = y; } |
ここまで設定したら、円上の点の座標が計算できます。
新しい点の半径をthisRadiusとして、値radiusをとるようにします。
|
16 17 18 19 20 21 22 23 24 25 26 27 28 |
for (float ang = 0; ang <= 360; ang += 5){ float rad = radians(ang); float thisRadius = radius; x = centx + thisRadius * cos(rad); y = centy + thisRadius * sin(rad); if (lastx > -999){ line(x, y, lastx, lasty); } lastx = x; lasty = y; } |
円の座標は、
(中心の座標+半径✕cos(新しい点の角度)、中心の座標+半径✕sin(新しい点の角度))
ですので、新しい点の座標(x, y)は、
x = centx + thisRadius * cos(rad)
y = centy + thisRadius * sin(rad)
となります。
|
16 17 18 19 20 21 22 23 24 25 26 27 28 |
for (float ang = 0; ang <= 360; ang += 5){ float rad = radians(ang); float thisRadius = radius; x = centx + thisRadius * cos(rad); y = centy + thisRadius * sin(rad); if (lastx > -999){ line(x, y, lastx, lasty); } lastx = x; lasty = y; } |
ここで現在の点と前の点をつなぐ線を引きたいのですが、まだ一個目の点なので前の点がありません。
少し工夫が必要です。
そこで、lastx, lastyに、−999というとても小さな値を初期値として入れておきます。
|
13 14 |
float lastx = -999; float lasty = -999; |
−999という値はこれから先出てこないので、こうすることで簡単に初期値の判別ができるようになります。
- lastx > -999、つまりlastxが初期値でなければ、前の点(lastx, lasty) から、現在の点(x, y)へ直線を引く
- 初期値だったら線は引かない
という条件分岐を与えます。
|
16 17 18 19 20 21 22 23 24 25 26 27 28 |
for (float ang = 0; ang <= 360; ang += 5){ float rad = radians(ang); float thisRadius = radius; x = centx + thisRadius * cos(rad); y = centy + thisRadius * sin(rad); if (lastx > -999){ line(x, y, lastx, lasty); } lastx = x; lasty = y; } |
これによって、一個目の点はどこからも線が引かれないようにします。
線を引いたあとは、値の更新をします。
前の点(lastx, lasty)に新しい点(x, y)の座標を代入することで再設定します。
|
26 27 |
lastx = x; lasty = y; |
つまり、現在のループの次のループからは、今しがた作った新しい点が、前の点として線の起点になるわけです。
これでstep1は終わりです。円がかけます。
2.円を螺旋に変える
次はこれを螺旋にしてみます。
螺旋は、角度が増えるごとに半径も大きくなる図形です。
ということで、ループしてangが増えるごとに、半径radiusも増えるようにすれば螺旋が描けます。
そこでループの最後に
radius += 0.5
を追加して、ループごとに0.5ずつ半径が増えるようにします。
|
16 17 18 19 20 21 22 23 24 25 26 27 28 29 |
for (float ang = 0; ang <= 360; ang += 5){ float rad = radians(ang); float thisRadius = radius; x = centx + thisRadius * cos(rad); y = centy + thisRadius * sin(rad); if (lastx > -999){ line(x, y, lastx, lasty); } radius += 0.5; lastx = x; lasty = y; } |
これで螺旋の完成です。簡単でしょう。

ただちょっと回転が物足りない気がするので、4回転ほどさせてみます
angが動く範囲を、360度✕4=1440度に増やしてみます。
|
16 17 18 19 20 21 22 23 24 25 26 27 28 29 |
for (float ang = 0; ang <= 1440; ang += 5){ float rad = radians(ang); float thisRadius = radius; x = centx + thisRadius * cos(rad); y = centy + thisRadius * sin(rad); if (lastx > -999){ line(x, y, lastx, lasty); } radius += 0.5; lastx = x; lasty = y; } |
するとこんな感じ.

3.螺旋にノイズを加えてグニャグニャさせる
次は螺旋にノイズを加えてグニャグニャさせていきます。
コードはこちらです。
|
1 2 3 4 5 6 7 8 9 10 11 12 13 14 15 16 17 18 19 20 21 22 23 24 25 26 27 28 29 30 31 |
size(900,600); //画面のサイズを(900,600)に設定 background(255); //背景を白に設定 strokeWeight(0.5); //線の太さを0.5に設定 smooth(); int centx = width/2; //円の中心を画面の中心にする int centy = height/2; float radius = 50; //半径を50とする stroke(20,50,70); float x, y; float lastx = -999; float lasty = -999; float radiusNoise = random(10); for (float ang = 0; ang <= 1440; ang += 5){ float rad = radians(ang); radiusNoise += 0.05; float thisRadius = radius + noise(radiusNoise)*200 - 100; x = centx + thisRadius * cos(rad); y = centy + thisRadius * sin(rad); if (lastx > -999){ line(x, y, lastx, lasty); } radius += 0.5; lastx = x; lasty = y; } |
ハイライト部分が変更された行です。
螺旋をグニャグニャさせるには、半径の大きさにパーリンノイズを加えるという方法をとります。
パーリンノイズというのは、完全なランダムノイズではなく、前の値に近い値をランダムに生成するものです。
滑らかなランダムさ、という感じです。
ノイズ関数を使うと、0から1までの範囲でパーリンノイズを生成することができます。
これを使って、半径になめらかなランダムさを加えます。
|
19 20 21 |
radiusNoise += 0.05; float thisRadius = radius + noise(radiusNoise)*200 - 100; |
noise関数は0から1までの値しか取らないので、200倍して100を引くことで−100から100までの値を取るようにしてあります。
新しく出てきたradiusNoiseという変数は、パーリンノイズの種のようなものです。
noise関数は、この種を動かすことで値を変化させるので、ループごとに0.05だけ増やしています。
これでもうグニャグニャ螺旋の完成です。
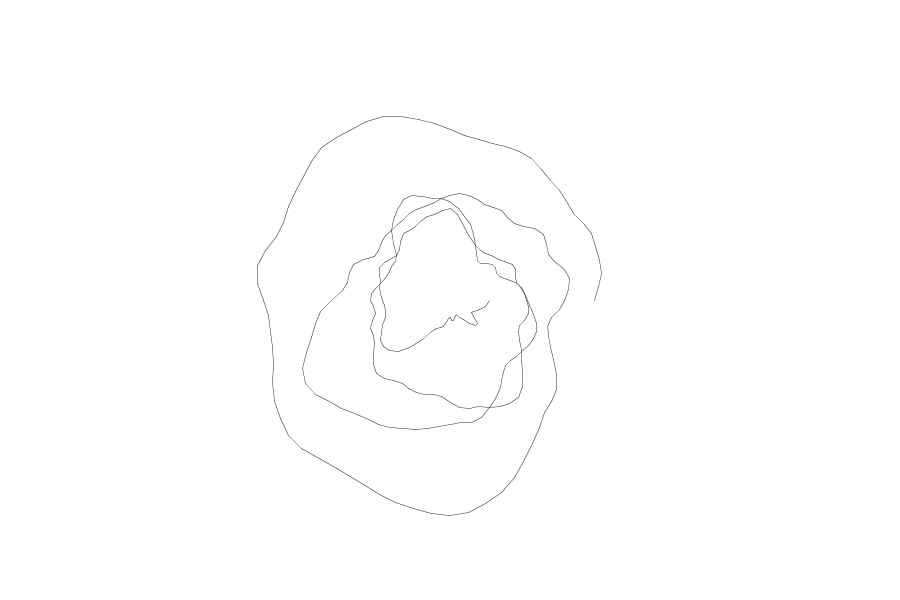
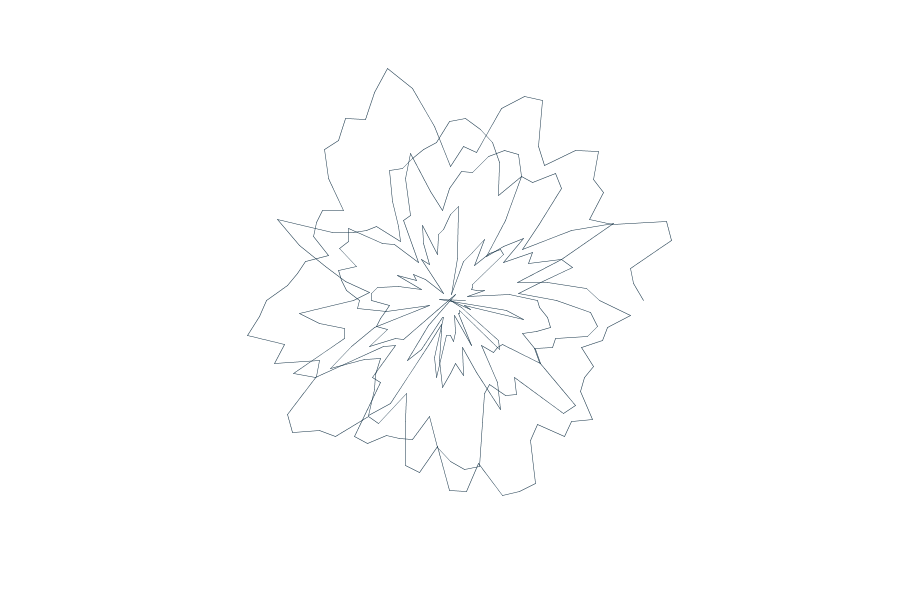
パーリンノイズの種を動かす幅を大きくすれば、ランダム性が激しくなり、動かす幅を小さくすればなめらかになります。
試しに動かす幅を0.05から0.5に変えてみると、こんな感じ。だいぶ激しく動いているのがわかります。
4.同じ要領で描いた螺旋を100本重ねる
あとはこれを100回繰り返すだけです。
100回繰り返すのは、人間だったら重労働ですが、コンピュータの得意分野です。
さっきまでのコードをfor文の中に入れて、100回ループさせればいいんです。
|
1 2 3 4 5 6 7 8 9 10 11 12 13 14 15 16 17 18 19 20 21 22 23 24 25 26 27 28 29 30 31 32 33 34 35 36 37 |
size(900,600); background(255); strokeWeight(0.5); smooth(); int centx = width/2; int centy = height/2; float x,y; for (int i = 0; i < 100; i++){ float lastx = -999; float lasty = -999; float radiusNoise = random(10); float radius = 10; stroke(random(70), random(70), random(70), 60); int startangle = int(random(360)); int endangle = 1440 + int(random(1440)); int anglestep = 5 + int(random(3)); for (float ang = startangle; ang <= endangle; ang += anglestep){ float rad = radians(ang); radiusNoise += 0.05; float thisRadius = radius + noise(radiusNoise) * 200 -100; x = centx + thisRadius * cos(rad); y = centy + thisRadius * sin(rad); if (lastx > -999){ line(x, y, lastx, lasty); } radius += 0.5; lastx = x; lasty = y; } } |
たださっきのままだと、起点も終点もみんな一緒でつまらない。
そこで、100本それぞれをよりランダムにしていきましょう。
まず開始位置を100本それぞれでランダムにします。
|
19 |
int startangle = int(random(360)); |
終了位置も4回転プラスαでランダムに。
|
20 |
int endangle = 1440 + int(random(1440)); |
angleの増え幅もランダムにします。
|
21 |
int anglestep = 5 + int(random(3)); |
最初の半径はさっきより小さめに、10にしておきましょう
|
16 |
float radius = 10; |
また、それぞれの螺旋にランダムに色付けしてみます
|
17 |
stroke(random(70), random(70), random(70), 60); |
これで完成です。
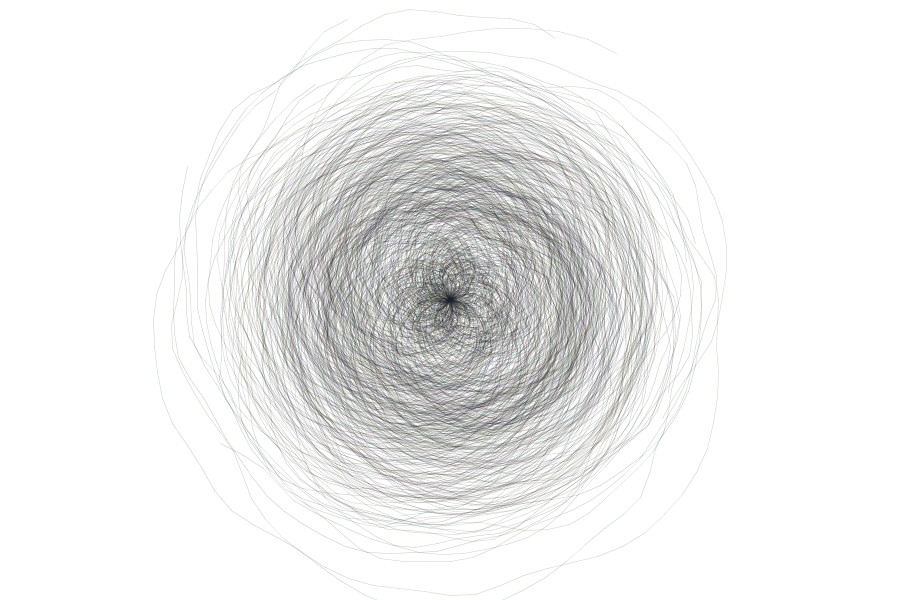
あとはパラメータをいじって遊べます。
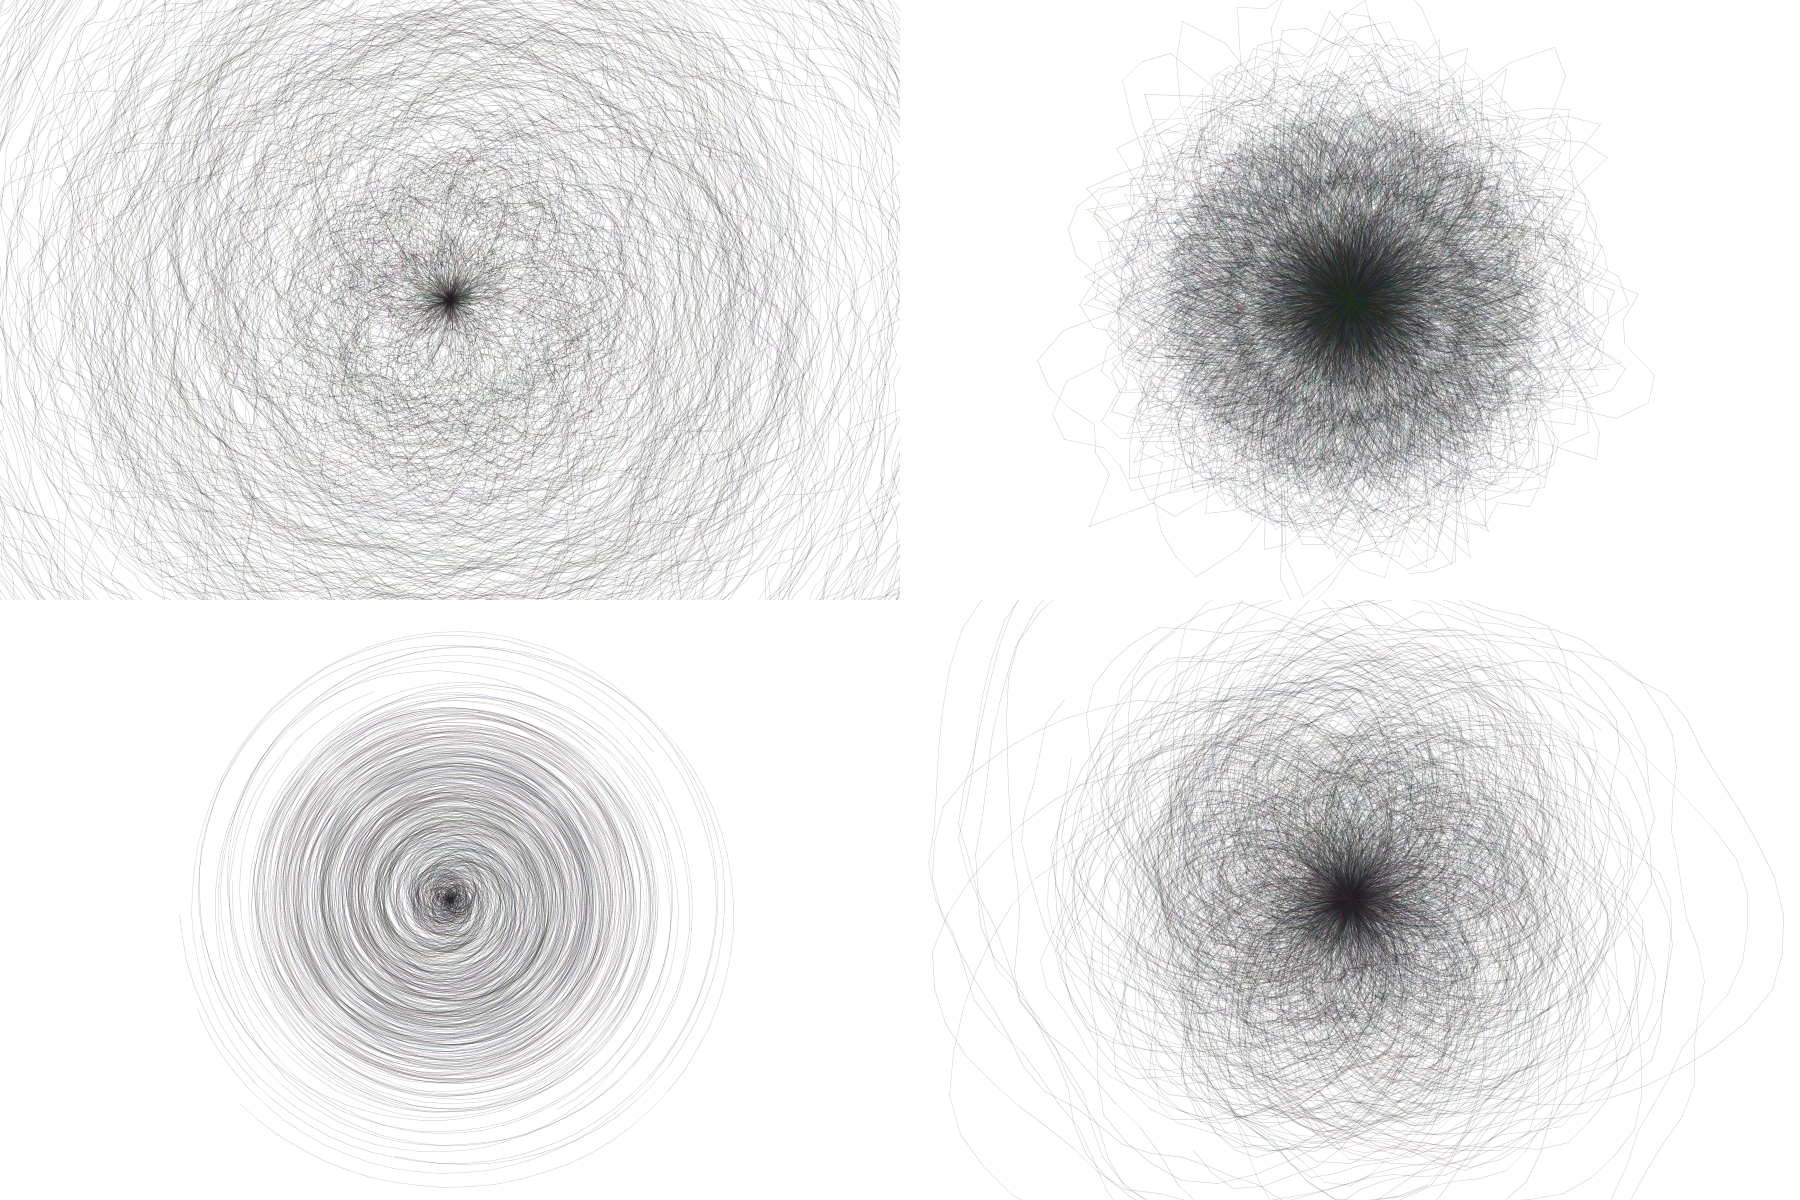
以下の画像は、全てたった一箇所の数字を変えただけです。
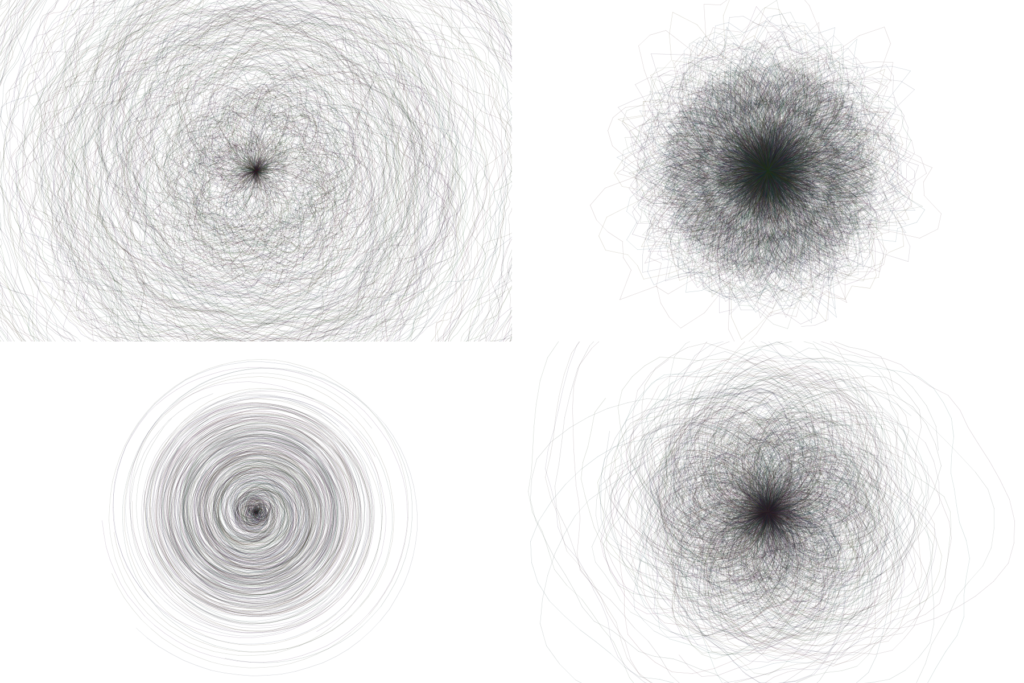
けっこう表情が違いますよね。
いろいろ実験してみると面白いと思います。
今回のプログラムを、オブジェクト指向で書き直した記事も作ってみました。
オブジェクト指向プログラミングを使えばもっとできることが広がるので、是非見てみてください。
参考書
参考書としては、『[普及版]ジェネラティブ・アート―Processingによる実践ガイド』という本がおすすめです。
この記事に書いてあることの基本的な発想は全てこの本から学びました。この本を読めば冒頭で紹介した動画も独学で作れるようになるはずです。
興味のある方は、上のリンクから是非見てみてください。
おしまい。
以下の記事で冒頭の動画の進化版を公開しています。解説記事も徐々に追加していくので、ぜひ見て行ってみてください。






コメント